fbpx
Back

Please enter your username or email address.
You will receive a link to create a new password via email.

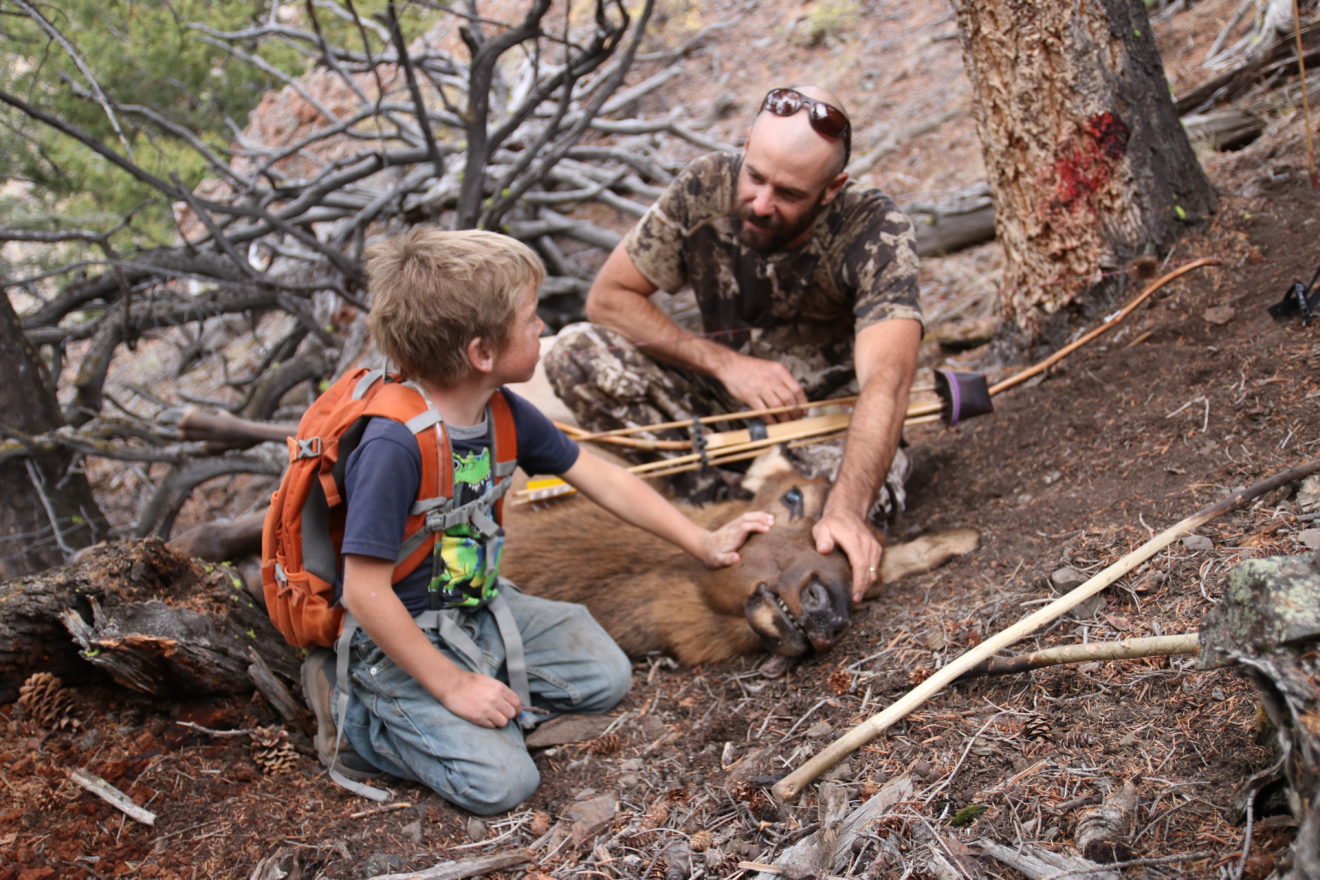
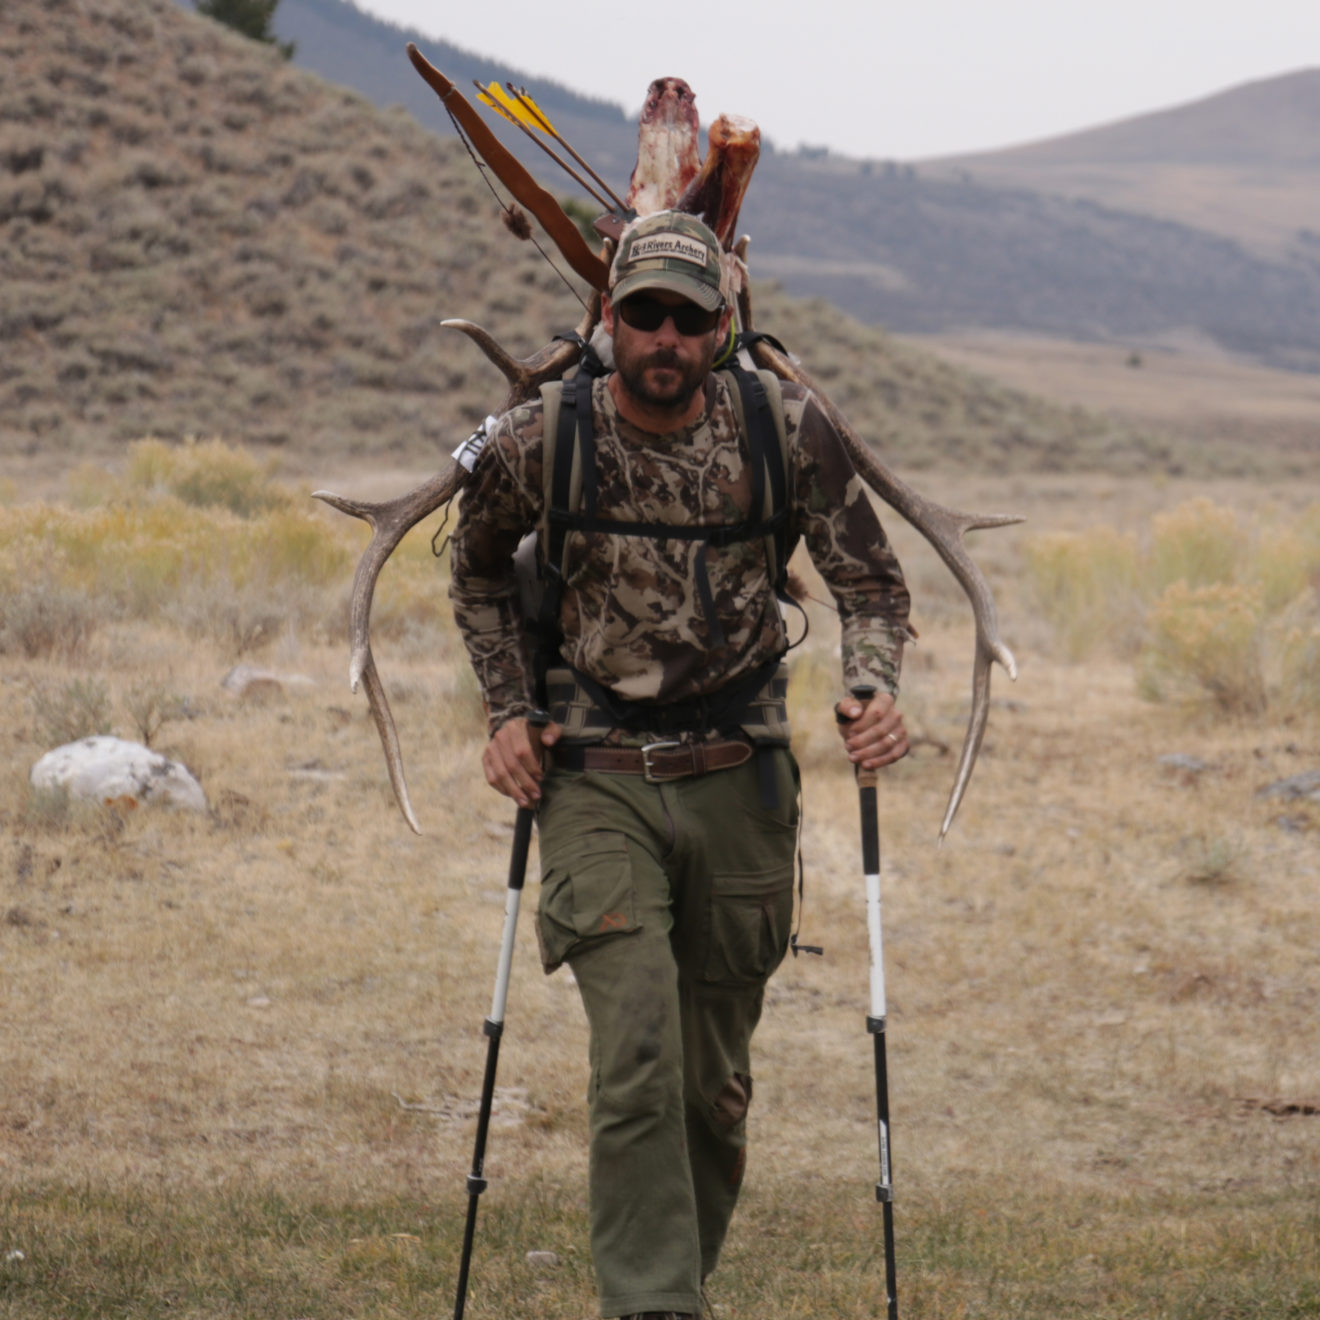
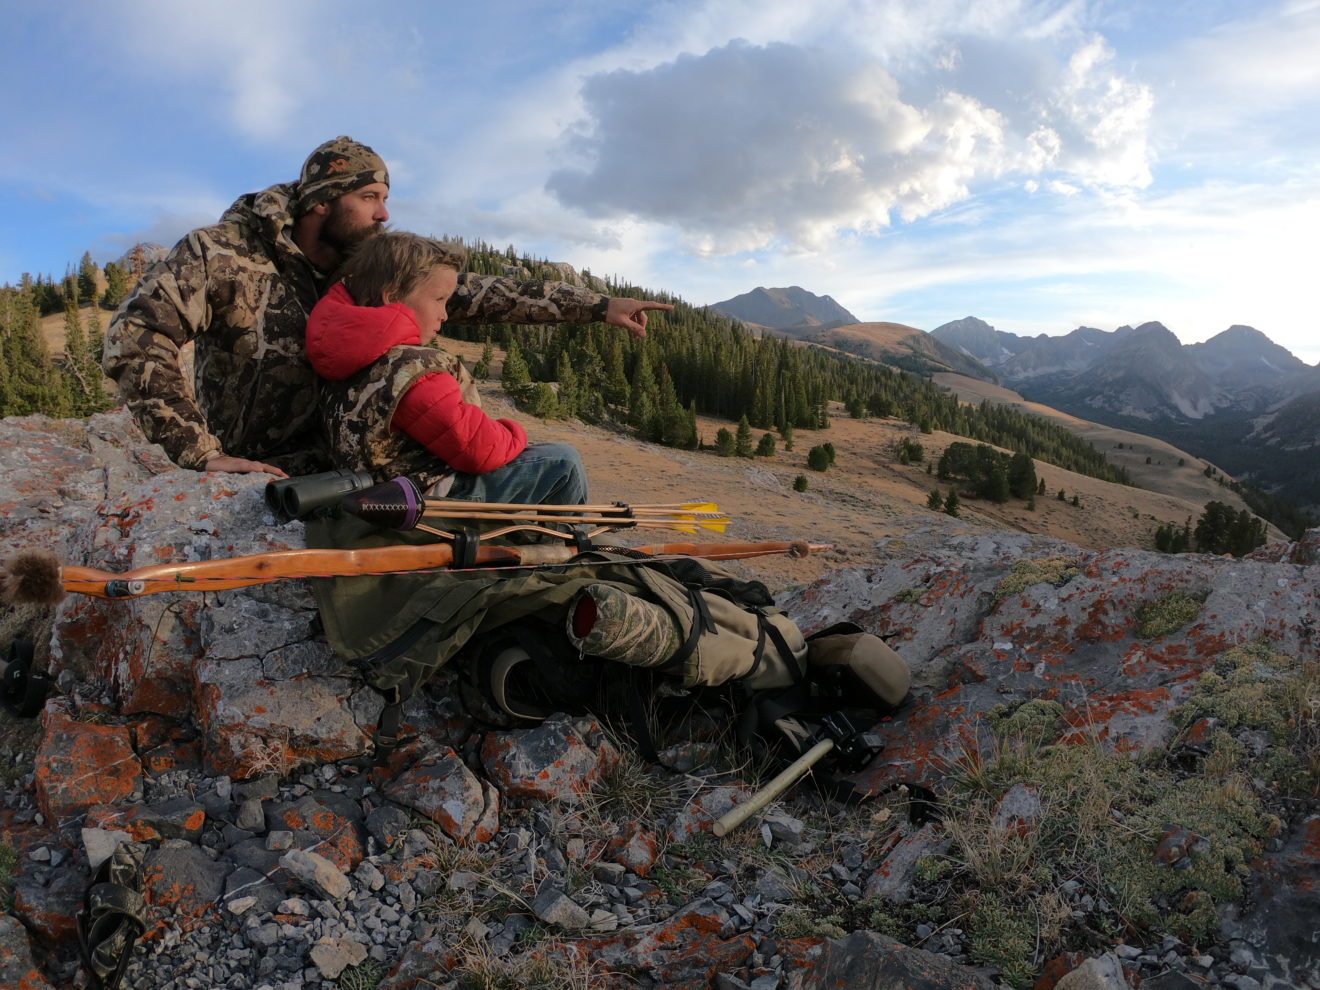
Field Dressing and Quartering Elk with the Gutless Method

There are only so many ways to field dress big game. Skin the critter, take the shoulder, the hindquarter, backstraps, tenderloins, neck and rig meat, and bingo you’re done!

This post and accompanying video will show you a few tricks to make the process easier and more efficient.

Although we’re working with a cow elk today, these field dressing techniques will work for deer, moose, caribou, and even bear. From mice to moose, most animals are put together the same way. They all come apart the same as well.

Skinning the Animal

We’ll need to start by getting the animals hide off on the side we’re working on. Elk and moose are too large to drag around if you’re alone, so you’ll need to work with the side that’s up first.

If you’re not worried about saving the hide, the easiest way to skin one is by splitting the hide up the spine, from tail to back of the head.

Then, make a cut around the lower leg just below the knee and another below the hock on the hind leg. Make a cut from there up the leg, until you run into the cut you made along the spine.

Do the same for the hind.

Now, you’re ready to start removing the hide. When you’re making these cuts, do so from the inside out. Meaning put the spine of your blade against the meat and cut the hide from the underside. This will help cut less hair and help keep your blade sharp.

You’ll still cut some hair, so take some time to brush it away and pick it off. I’ll be much easier to get now than later.

Start removing the hide by cutting the white connective membrane between it and the meat.

Front Quarter

The first thing I do after getting the hide off is take the front quarter or shoulder. There’s not much connecting it to the chest wall but muscle and tendon, which is easily cut. Start from the underside, near the brisket, and work your way toward the spine.

Hind Quarter

Next comes the hindquarter (ham). This one’s a bit more complicated than the shoulder. I like to start near the groin area, cutting as close to the pelvis as possible. Find the ball joint and socket, then cut the tendon that connects the two.

Keep working your way towards the top side of the pelvis. When you’re working in this area, be careful not to cut the abdominal wall and spill small intestine into your workspace. It’ll make you’re job much more difficult.

To finish removing the ham, you might need to lay it back into its natural place and work from the top side.

Backstraps

Now you can remove the backstrap. There is a thin membrane that covers the backstrap that, if removed, makes the whole affair easier.

If you make a cut along the spine, you should be able to run your fingers under this membrane and peel it off with just a few small cuts.

Once that’s done, you should be able to feel the ribs and how the backstrap lay on top of them. Make a deep cut along the spine to its intersection with the ribs, then another along the bottom side of the strap using the ribs as a guide until you hit the spine.

At this point, there should only be a small bit of meat holding the backstrap in place. That’ll be right where the ribs meet the spine. Free one end and work your way down to the other. The backstrap will come right out.

Tenderloins

The tenderloins are inside the body cavity and rest just under the short ribs. You can get to these by making a cut along the outside of the short ribs. Reach your hand inside, and you should feel them sitting just under the short rib and spine. Take them out in a similar way as the backstrap.

Clay Hayes and son
It is important to pass on our hunting heritage to the next generation.

Neck Meat

Unfortunately, the neck is often left in the woods. I know the coyotes and ravens have to eat but, believe it or not, this is one of the best cuts on the animal. A neck roast in a cast iron pot put in the oven on 280 for 4-5 hours is amazing.

On a big cow elk, you might get 10 lbs of neck meat. On a big bull, there might be over 40lbs! Lots of roasts there.

To remove all that, you’ll have to use your blade to navigate around the vertebra. It can be a bit of an obstacle course, but it’s well worth it with the right cooking methods.

Rib meat and other odd bits

Much of the meat covering the ribs is layered with fat. If we were working with beef, this might be a great way to add some fat content to the burger, etc. but deer and elk fat tend to leave a waxy coating in the mouth. I take great pains to trim as much away as possible when I’m butchering an animal to go in the freezer. Because of this, I don’t usually bother with it. Trimming the fat from the meat would take hours, and you’d end up with a handful of lean meat.

The meat between the ribs isn’t too bad, though. It’s easy to get and will make an excellent addition to the burger pile. The same goes for the brisket meat and any other lean meat covering the front of the rib cage under the shoulder. There are often several pounds of good meat in those areas.

Once all that’s done, you get to roll the animal over and do it all over again!

In a future post, we’ll cover home butchering, where we’ll take the quarters down to all the various cuts. I’ll also give some cooking tips that’ll help you get the most out of each cut: top round, bottom round, shanks, etc.

Loading more posts ...